
Want to get a new "mirror talk" each week? Sign up here:
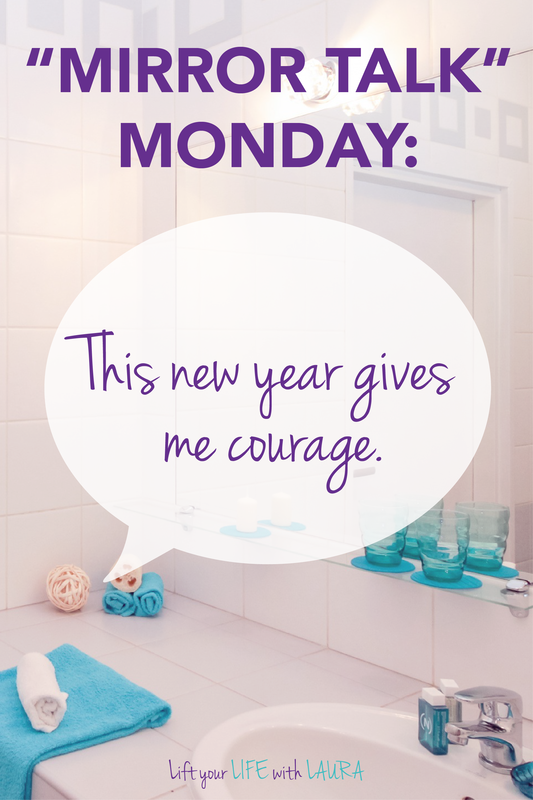
So, what's this week's affirmation? Write the phrase below on a sticky note and start building your confidence!
"This new year gives me courage."
1 Comment
Want to get a new "mirror talk" each week? Sign up here:
So, what's this week's affirmation? Write the phrase below on a sticky note and start building your confidence!
"I deserve a bright future."

So, what the heck can you use?
Instead of paying $5 a bottle...
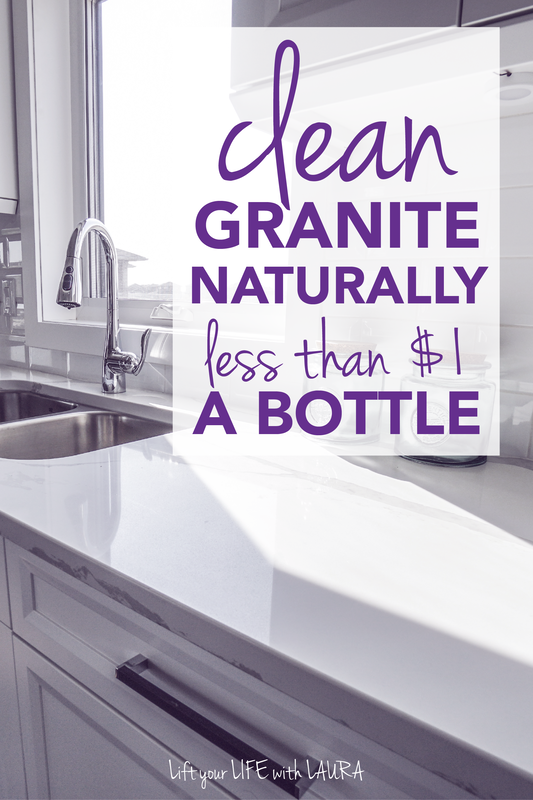
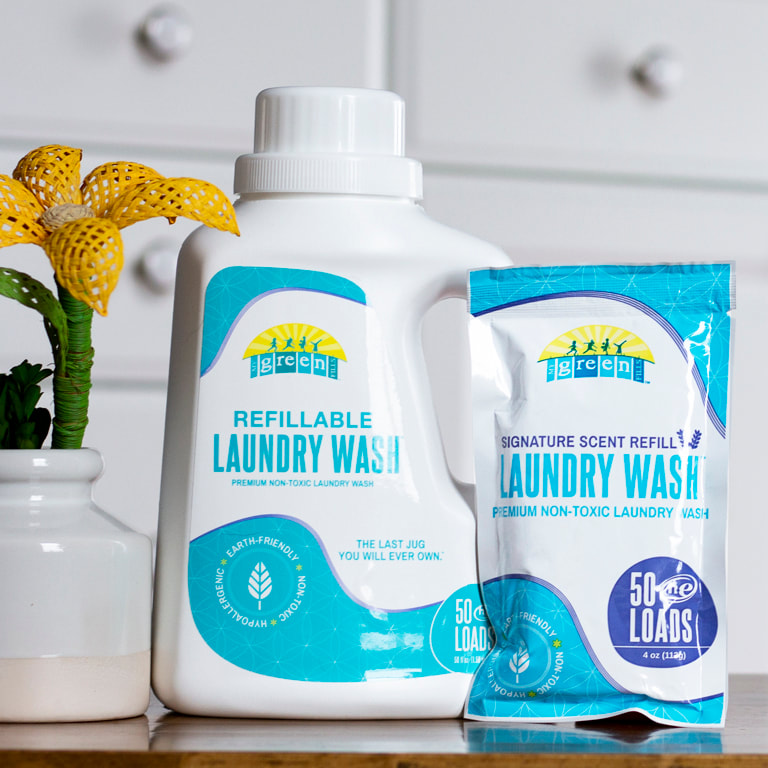
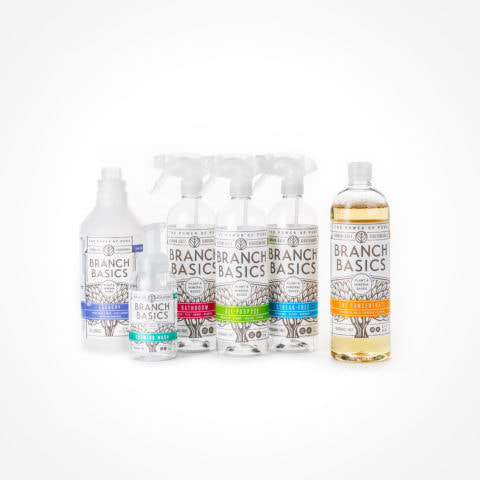
One day, I learned about an awesome cleaning solution (Branch Basics) on a podcast. It promised natural and gentle cleaning that was actually effective. It also promised cheap cleaning solutions averaging less than $1 or so a bottle. So, I used the podcast coupon code and once the product arrived I was hooked.
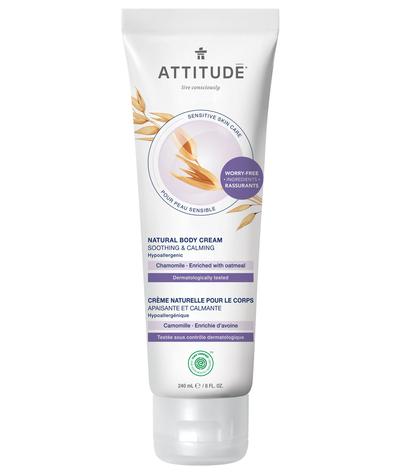
Basically, Branch Basics is a natural and unscented soap concentrate that comes with super cute bottles complete with ratios to make different cleaners, like all purpose, bathroom cleaner and glass cleaner. You simply add distilled water to the fill line, some soap to the fill line, top it off with water and you’re done!
The video below shows exactly how I use the concentrate:
Here’s how I use it:
Instead of using just the concentrate and water, I like to add some extra stuff.
I also add some essential oils (like lemongrass, lavender, mint, etc) for extra cleaning power and to make it smell good! I also add a bit of rubbing alcohol to boost the cleaning power and drying time. For me, the all purpose spray is perfect for our kitchen and definitely the bottle I refill the most. Every time I make a new bottle, I change up the scent for the season, and it just makes me so happy! Want to try it with $10 off?
You deserve a coupon code just like I did when I tried it! Use the link below to get $10 off your first order! And seriously, I adore this stuff and am on my 7th or 8th bottle by now. I use it everywhere!
UNDER $20
UNDER $50
UNDER $75
BIG SPENDS
food sensitivity test kit ($160):
I know... this might not be the most fun present, but it is really cool! Your green friend probably knows a lot about food and health, so give them the gift of learning even more! 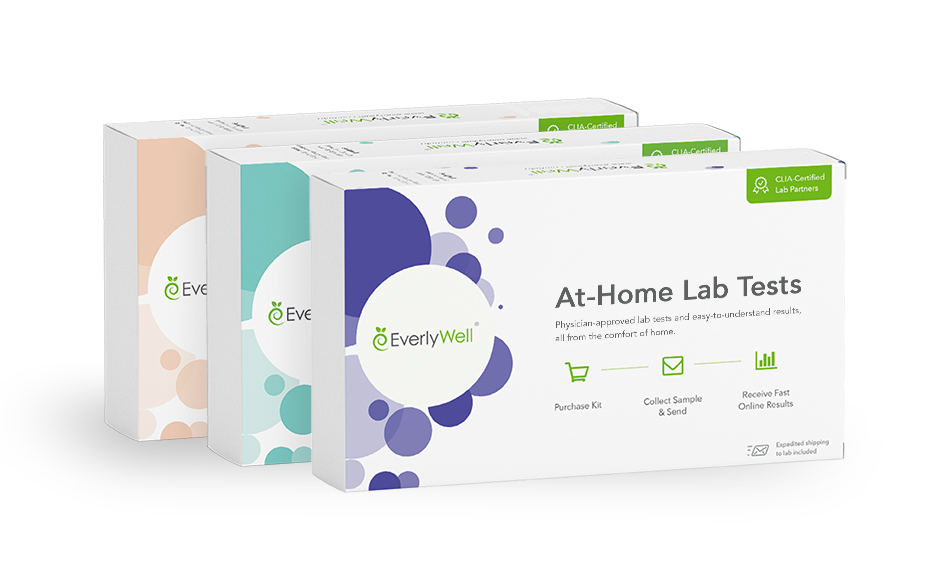
More people to shop for? Check out my other gift guides below:Pin now, buy later!
UNDER $15
UNDER $30
UNDER $85
BIG SPENDS
squat rack ($300):
This is the exact rack I bought for my own basement gym and I love it. It's simple, no frills and pretty easy to put together. It's even travelled with me from our old house to our new one!  Have more people to shop for? Check out my other gift guides:Pin now, shop later!
UNDER $25
under $35
UNDER $50
UNDER $85
BIG SPENDS
CSA membership ($ depends):
I am a big advocate for Community Supported Agriculture. If you happen to be in the Dayton OH area, here's two that I use myself (Mile Creek Farm & Three Trees Farm). If you are not, here's a website that can help you find one: www.farmmatch.com Have others to shop for? Check out my other gift guides:Pin now, shop later!
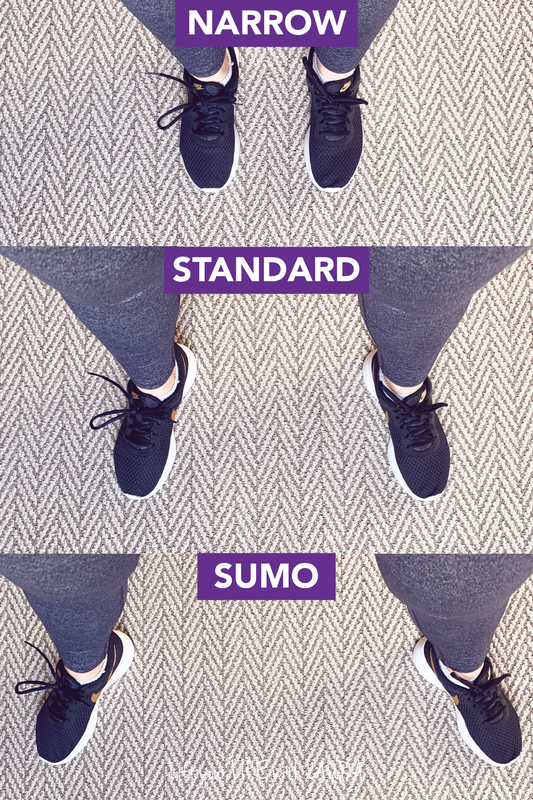
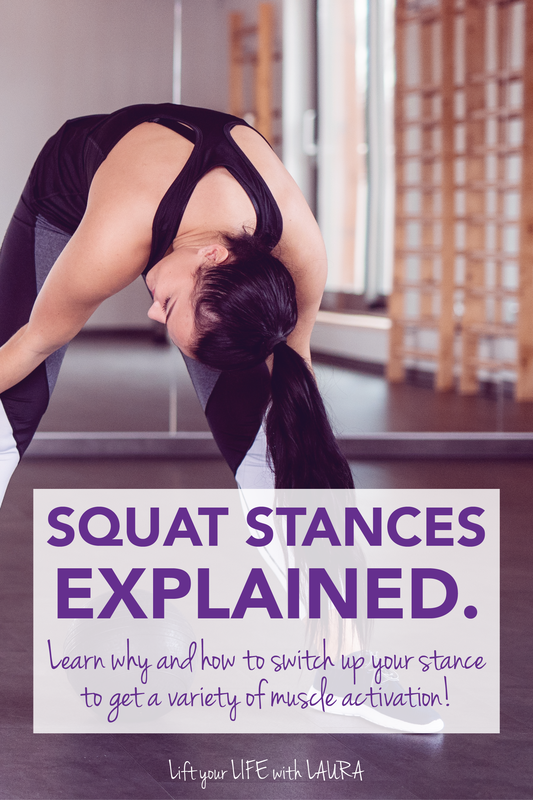
Squat stance? Huh? The way you place your feet during a squat (and a deadlift) can totally change the muscles worked.
You are probably most familiar with a standard stance, with your feet about shoulder width apart. This a great stance to take (if you have good form) but by changing the distance between your feet, you can mix up your workout routine even more, that way you make sure to hit all the muscles in your legs. So, what are the three stances I use with my clients? Keep reading to learn!
WANT TO BE NOTIFIED WHEN MORE ARTICLES LIKE THIS LAUNCH? SIGN UP BELOW!
putting it all together:
So now that you know the different types of squat stances, it's time to put them into practice into your own workout routine.
If you want to take the guess work out of when to incorporate these squat variations, click the button below to check out workout programs that actually help you progress through harder movements over time. After clicking, you'll see why a tried a true workout plan will help you achieve your fitness goals! Pin now and save for later!
It's 5:45 AM in the dead of winter. Your alarm is beeping but you just CAN'T get out of bed. It's pitch black out and you feel like a bear who got woken up from hibernating. After a few minutes debating sleeping in "just a few more minutes", you think about your new pumpkin spice coffee creamer and it motivates you to get out of bed.
Sound familiar? If so, keep reading because after you've finished this post, you'll be armed with some new tactics and products that will set you up for a more alert morning and a more relaxing evening. Anyways, back to our story...
Here's your checklist for a good morning:
WANT EMAILED WHEN I POST MORE TIPS LIKE THIS? SIGN UP BELOW!
Now here's your checklist for a good evening:
Now that we've covered the details, here's a recap of all the things you need to set yourself up for a great morning and night. After checking these items out on Amazon, share this post with a friend, we all need better sleep!
here's a recap of the items:
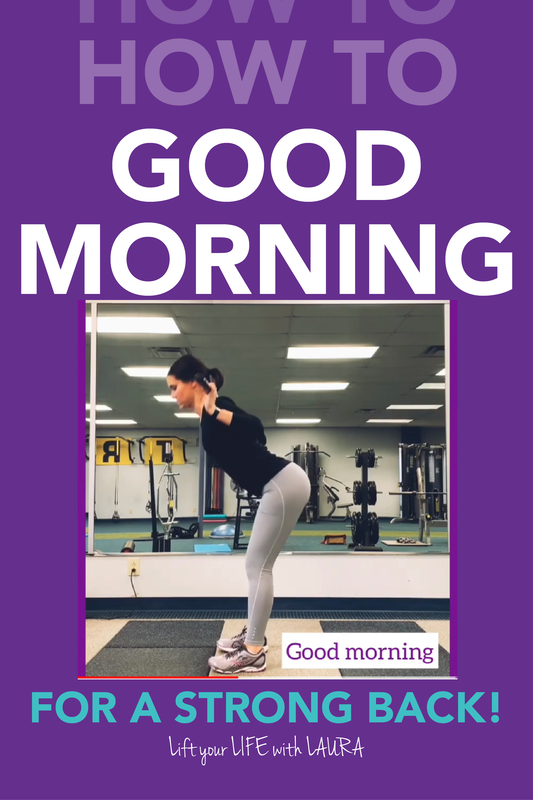
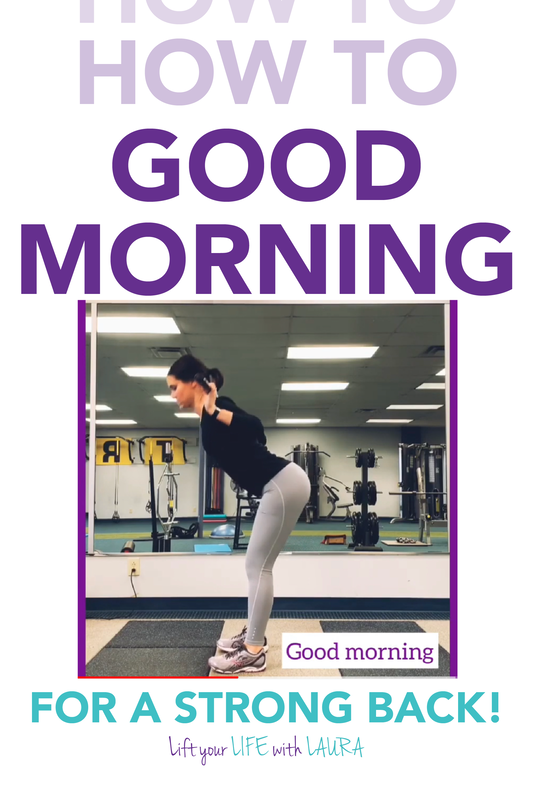
Are you new to exercise?
this is a "functional movement"All the exercises I explain in my exercise library are what trainers like to call "functional movements". This means that they require a whole muscle GROUP to be activated, rather than just isolating one muscle. These exercises tend to get your heart rate up more, and they help to burn more fat and build more muscle! I use these functional movements as the primary exercises in my workout plans. If you want a workout plan that is quick, effective and works well at building your curves and confidence, then make sure to check my workout plans out! There's routines for every schedule, and you will never get bored from doing the same thing each week! If you want the workouts PLUS in depth coaching for other areas of your life like confidence, healthy habit creation, goal setting and mindset, make sure to check our my confidence coaching that includes the workout plans along with everything else! here's how you set up your good morning: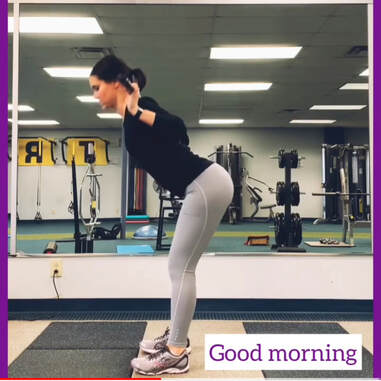 First, if you have never performed this exercise before, take a second to watch the video above. When it comes time to do it for the first time, PLEASE try it without any weight. Alright, here we go! What I would like you to do is stand with your heels towards a wall, about a foot away from it. With your hands folded on your chest, hinge your hips back in space and try to touch the wall with your butt. It's farther back than you think right? This hinging movement is the basis of the good morning. Did you keep a gentle bend in your knees? If so, awesome! Proceed on to the next step. If you didn't, try to touch the wall without bending your knees a ton and without locking your knees. You should feel your weight mostly in your heels rather than the front of your feet. Try to perform this exercise in front of a mirror to help check your form. Ideally, you would be able to see something written on the front of your shirt in the mirror as you go up and down. You do this by keeping your chest up, your shoulders back, and your butt sticking out. By activating and tightening all those muscles, the entire back side of your body gets strengthened. How low can you get your torso? Depending on your flexibility, you might be able to get it parallel to the ground. If you can, that's great! If not, that's ok too, the flexibility will come with time. Also, I would much rather you perform a shallower good morning than one that requires you to drop your chest in order to get lower. Once you get the hang of the hinging movement and can perform that for at least 15 reps, it's time to add some weight! Just like in a squat, you want the bar to sit on the meaty part of your upper back - your traps. Holding the bar there will require strength in your shoulders and a pretty good range of motion, so take your time and go slow. Adding the weight also changes your center of gravity compared to performing the exercise without weight, so make sure to build up slowly, if you can find a small bar, that's best to start with! Try a few reps and see how it goes, if the weight feels stable on your shoulders, keep going! Expect to feel soreness from this exercise all the way from your upper back down into your glutes, and even down into your hamstrings. It really is an awesome exercise, so try it out with your next workout, or use one of my already curated plans!
Right now, Plant Therapy has an AWESOME fall set for sale containing three 10 mL bottles of different fall scents. They're amazing! Yes, you can definitely put some in your diffuser, but the best part is, I’ve found an even EASIER way of using them instead of diffusing! All you need to do is...
Easy right! In case you missed the links to the fall blends, here it is, get your bottles now before they sell out! pin now and save for later!
|
AuthorMy name is Laura and I help overly tired 20something women overhaul their lives, energy and confidence without overwhelm. Categories
All
DISCLAIMER:
Although I am a Certified Personal Trainer through the National Academy of Sports Medicine and write to the best of my knowledge on fitness, nutrition and lifestyle practices, I cannot be made liable to know all information on a particular subject. Knowledge gained through this blog is to be used at your own risk and all lifestyle changes should be discussed with a doctor before starting. I am also a participant in the Amazon Services LLC Associates Program, an affiliate advertising program designed to provide a means for sites to earn advertising fees by advertising and linking to Amazon.com. I do receive a small reimbursement for sales made through the links provided on my blog. |


 RSS Feed

Proudly powered by Weebly