UNDER $15
UNDER $30
UNDER $85
BIG SPENDS
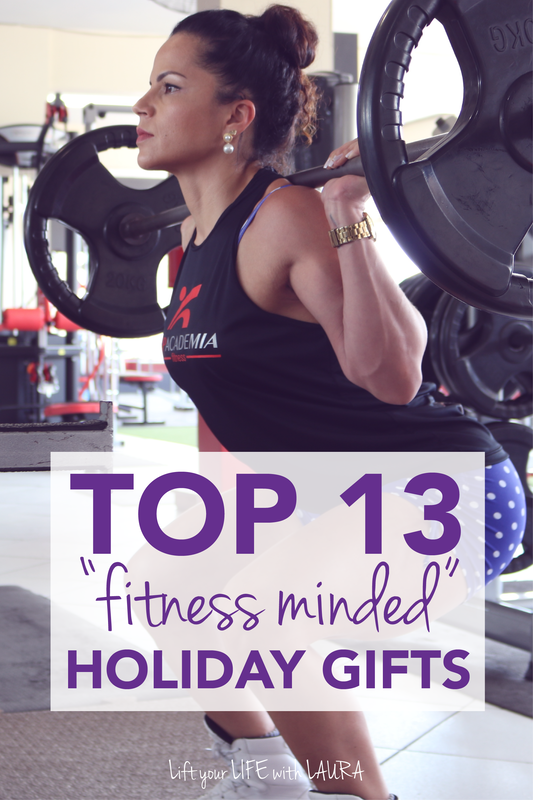
squat rack ($300):
This is the exact rack I bought for my own basement gym and I love it. It's simple, no frills and pretty easy to put together. It's even travelled with me from our old house to our new one! Have more people to shop for? Check out my other gift guides:Pin now, shop later!
2 Comments
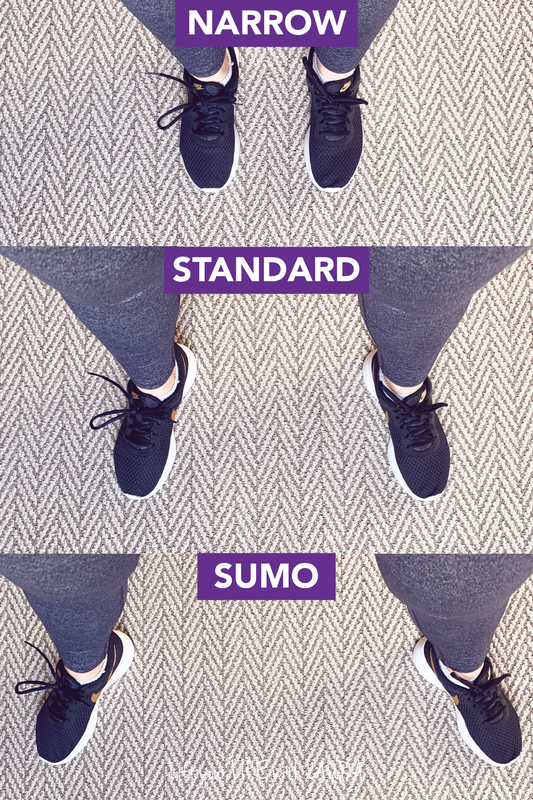
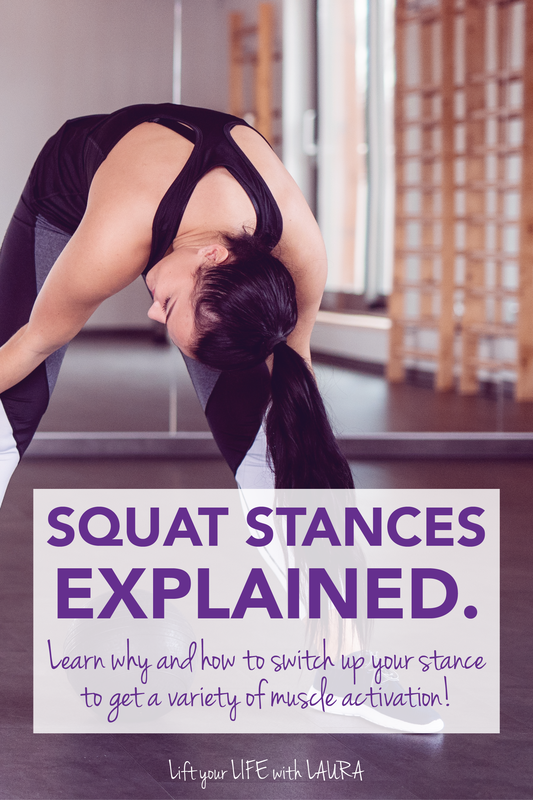
Squat stance? Huh? The way you place your feet during a squat (and a deadlift) can totally change the muscles worked.
You are probably most familiar with a standard stance, with your feet about shoulder width apart. This a great stance to take (if you have good form) but by changing the distance between your feet, you can mix up your workout routine even more, that way you make sure to hit all the muscles in your legs. So, what are the three stances I use with my clients? Keep reading to learn!
WANT TO BE NOTIFIED WHEN MORE ARTICLES LIKE THIS LAUNCH? SIGN UP BELOW!
Signup here: Thank you!You have successfully joined our subscriber list.
putting it all together:
So now that you know the different types of squat stances, it's time to put them into practice into your own workout routine.
If you want to take the guess work out of when to incorporate these squat variations, click the button below to check out workout programs that actually help you progress through harder movements over time. After clicking, you'll see why a tried a true workout plan will help you achieve your fitness goals! Pin now and save for later!Are you new to exercise?
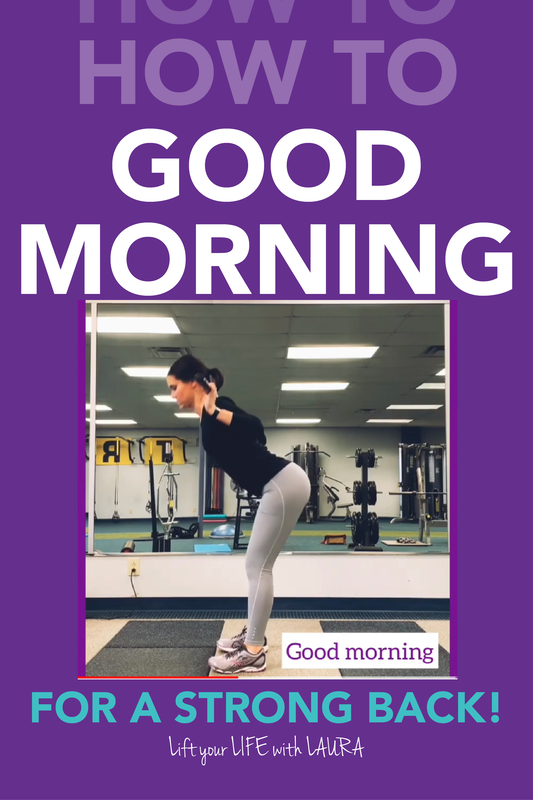
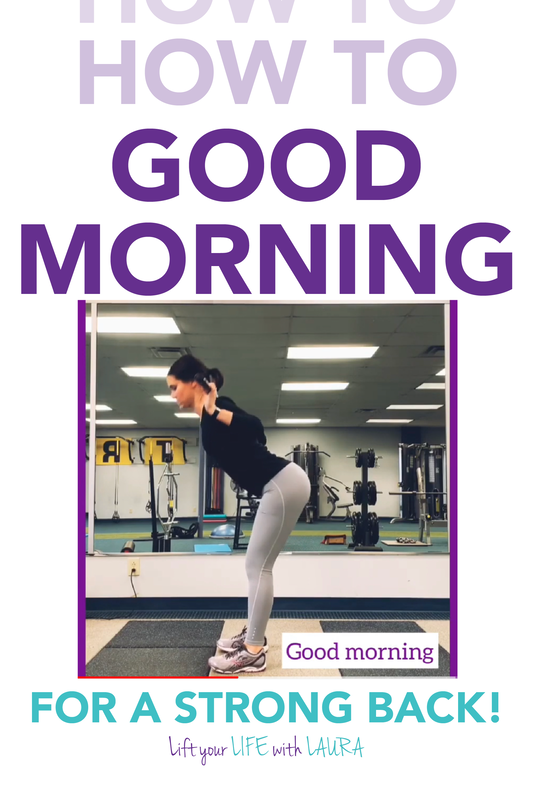
this is a "functional movement"All the exercises I explain in my exercise library are what trainers like to call "functional movements". This means that they require a whole muscle GROUP to be activated, rather than just isolating one muscle. These exercises tend to get your heart rate up more, and they help to burn more fat and build more muscle! I use these functional movements as the primary exercises in my workout plans. If you want a workout plan that is quick, effective and works well at building your curves and confidence, then make sure to check my workout plans out! There's routines for every schedule, and you will never get bored from doing the same thing each week! If you want the workouts PLUS in depth coaching for other areas of your life like confidence, healthy habit creation, goal setting and mindset, make sure to check our my confidence coaching that includes the workout plans along with everything else! here's how you set up your good morning: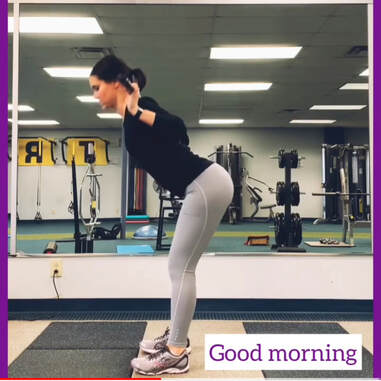 First, if you have never performed this exercise before, take a second to watch the video above. When it comes time to do it for the first time, PLEASE try it without any weight. Alright, here we go! What I would like you to do is stand with your heels towards a wall, about a foot away from it. With your hands folded on your chest, hinge your hips back in space and try to touch the wall with your butt. It's farther back than you think right? This hinging movement is the basis of the good morning. Did you keep a gentle bend in your knees? If so, awesome! Proceed on to the next step. If you didn't, try to touch the wall without bending your knees a ton and without locking your knees. You should feel your weight mostly in your heels rather than the front of your feet. Try to perform this exercise in front of a mirror to help check your form. Ideally, you would be able to see something written on the front of your shirt in the mirror as you go up and down. You do this by keeping your chest up, your shoulders back, and your butt sticking out. By activating and tightening all those muscles, the entire back side of your body gets strengthened. How low can you get your torso? Depending on your flexibility, you might be able to get it parallel to the ground. If you can, that's great! If not, that's ok too, the flexibility will come with time. Also, I would much rather you perform a shallower good morning than one that requires you to drop your chest in order to get lower. Once you get the hang of the hinging movement and can perform that for at least 15 reps, it's time to add some weight! Just like in a squat, you want the bar to sit on the meaty part of your upper back - your traps. Holding the bar there will require strength in your shoulders and a pretty good range of motion, so take your time and go slow. Adding the weight also changes your center of gravity compared to performing the exercise without weight, so make sure to build up slowly, if you can find a small bar, that's best to start with! Try a few reps and see how it goes, if the weight feels stable on your shoulders, keep going! Expect to feel soreness from this exercise all the way from your upper back down into your glutes, and even down into your hamstrings. It really is an awesome exercise, so try it out with your next workout, or use one of my already curated plans!
This is a lot easier said than done, I know. With all the "motivational" things we see on social media like:
the truth:
All the work you do in the gym is great, but what you need to remember is that the 45 minutes you spent working out is not when your body gets stronger. Seriously, it's not. Those 45 minutes told your body what to do, but WHEN it happens is way after those 45 minutes are up. Your body needs to recharge. It needs to sleep. It needs to leisurely walk. It needs to stretch and regain mobility. All these things that happen outside the gym are what let your body get ready for next time so you can be more agile, faster and stronger.
If you don't give your body time to repair, then you'll be in the second camp from above = on the verge of sabotage. I've seen it many times before from training clients... People get super motivated at the beginning and take on too much at once. They feel great (at first) but eventually get burnt out and give up completely because they are so tired, sore and grumpy. If they listened to their body's needs and took a break, they would have been able to continue.
LIKE WHAT YOU'RE READING SO FAR? SIGN UP BELOW TO BE NOTIFIED WHEN I POST MORE!
so you know you need to rest, but when?
Here's the hard part. Listening... My rest days are never the same day each week, it always varies depending on what I've done in the week, what is on my to-do list, and where my head is.
What I advise you to do is use these two general rules of thumb:
Need even more help listening to your body? Check out my confidence coaching plan, it helps you gain body confidence through working out, but also through treating rest as a way to honor your body!
Pin now, read again later!Are you new to exercise?
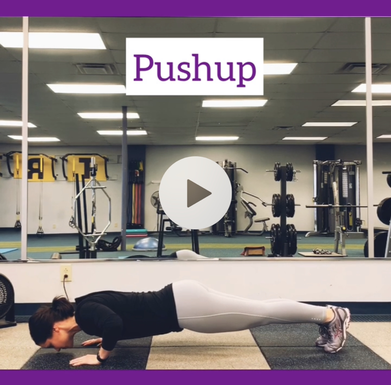
pushups are a "functional movement"All the exercises I explain in my exercise library are what trainers like to call "functional movements". This means that they require a whole muscle GROUP to be activated, rather than just isolating one muscle. These exercises tend to get your heart rate up more, and they help to burn more fat and build more muscle! I use these functional movements as the primary exercises in my workout plans. If you want a workout plan that is quick, effective and works well at building your curves and confidence, then make sure to check my workout plans out! There's routines for every schedule, and you will never get bored from doing the same thing each week! If you want the workouts PLUS in depth coaching for other areas of your life like confidence, healthy habit creation, goal setting and mindset, make sure to check our my confidence coaching that includes the workout plans along with everything else! yeah, pushups are hard.Yup, they're hard. Not denying that at all. BUT, pushups are a critical part of building strength when done correctly. Watch this video first, then read on for a detailed explanation. So... what's going on here? First, any pushup should start out in a proper plank. (read more about setting up a proper plank HERE). Think about it, a pushup is really just a moving plank. The goal is to keep your body nice and tight throughout the whole movement, with only your arms and shoulders moving. To do this, start with your hands directly under your shoulders. If you are performing your pushup from your knees, that same rule still applies. Think about it this way, the more centered your hands are under your shoulders, the better they will be able to push your body away from them. If you are performing your pushup from a bench or the wall, again keep your hands as directly under your shoulders as possible. See how my elbows stay close to my sides? Ideally, your arms should be at a 30 degree angle to your body. This means that your elbows are NOT splayed out to the sides and that your fingertips are NOT pointing towards each other. Your hands can turn in slightly, but just enough to mimic the 30 degree angle that your arms make. At first, this might seem like your arms are way too close to you, but I promise this will save your shoulders in the long run! Learn how to do them well NOW, before you engrain bad habits. The other thing to remember is that your hips should not fall down and they should not fly high. Keep them in the same position you started your plank in. If you notice your hips shifting up or down, it's time to stop, you're done with your reps. At this point you can either take a break and try another set, or you can try an easier variation of a pushup. my biggest piece of advice:
weights are heavy... and expensive...
You've probably seen all the other pins on Pinterest talking about building a home gym with "no weights", "minimal equipment", etc... But what if you LIKE using the big stuff? This is the exact issue I had. Weights are fun, but because they are heavy they are also pricey. I started out with all the "typical", "cheap" things that you see on those Pinterest lists like a mat, stability ball, mini bands, etc. But I knew deep down that I NEEDED more.
The list below shows the exact order I purchased things and the prices I paid!
1. DUMBBELLS:
Dumbbells were priority number one for me, and they were one of the most intimidating purchases too because of the expense and because there's just so many types! To not clutter our basement, I decided to find a set of adjustable dumbbells. To not break the bank, I also decided to buy these dumbbells USED because really, a weight is a weight. It doesn't matter if it's scuffed, rusty etc, all it's doing is weighing you down. On average, you will pay AT LEAST a dollar a pound for the most basic dumbbells (new), but when buying them used, I was able to get about 200 lbs of weight for only $100. I found this deal by scouring Craigslist (Facebook marketplace didn't exist back then) until I finally found a used set of dumbbells really similar to these. Once I brought those home, I thought I would be set for awhile, until I decided to bench press with them. 2. BENCH At first, I thought I could get away with benching on my stability ball, but there was just no way for me to keep my neck in a comfortable position for that long. So... next on my list was a flat weight bench. I am pretty sure I tried to find a bench like this on Craigslist, but when I couldn't find anything used, I went to Amazon. I still have this bench today and it works great, but every so often I do need to retighten the bolts. 3. BARBELL (#1) I love barbells. Working with them makes you feel like a bad ass, and they are just so convenient when you want to pick up heavy stuff like I was used to doing. My college gym had beautiful Olympic bars, plates and racks and I had no idea that there was any other type. I looked up these Olympic barbells (2" diameter on the ends) online and was shocked by their price. So, I then discovered standard bars and plates (1" diameter on the ends). These bars would be a perfect fit for the weight plates that I already had from my adjustable dumbbells, so I decided to buy a bar for deadlifting. The bar I chose was the cheapest I could find and also the shortest (in order to save space). 4. SQUAT RACK So I could bench, I could deadlift, I could do any accessory work I wanted with dumbbells, but I couldn't really squat like I wanted to. Sure I could put dumbbells up on my shoulders, do goblet squats, or overhead press the bar up on my shoulders, but my shoulders then limited how much weight I could use. This dilemma really got to me (to the point where I just couldn't take it anymore) about 3 months after buying my dumbbells and so my quest started for a rack. This was definitely going to be my biggest purchase, so I made sure to do my research. I didn't need anything fancy, but I wanted something that would keep me SAFE. To me, that meant a power rack (four corners that "box" you in) rather than just a squat rack (only two supports for the barbell). At the time I purchased my rack, it was NOT available on Amazon, but here it is now, even with free shipping (which I didn't get 5 years ago). This specific power rack from Titan Fitness was easy to assemble and HEAVY, a great safety feature. It has a pull up bar, safeties, and was easy to assemble for my husband and I. I have even taken this rack apart and moved it to a new basement, and we had no issues at all! This was definitely the biggest purchase, but it was also the most useful and paid for itself easily. Right now you can get it for $335, so let's do the math. At the time I am writing this article, Goole says that the average cost for a gym membership is $58 per month. $335 / $58 = 5.77 months. Say what? You can make up the cost of that squat rack in 6 months??? Even if you live somewhere that a gym membership is HALF that, you could still make up the cost of the squat rack in a year. And who knows, maybe you can even find a used power rack near you for cheaper! 5. BARBELL (#2) Remember how I bought a short barbell in step 3 to save space? This decision bit me in the butt really... Please keep in mind that you need a 7' barbell (not 6') in order to make it span the width of a squat or power rack. This is the exact reason I now have two barbells (this is the 7' bar I bought). One stays on the floor for deadlifts, and one stays in my power rack for benching and squatting.
LIKE WHAT YOU'RE READING? SIGN UP FOR MORE!
Signup here: Thank you!You have successfully joined our subscriber list.
6. PULL-UP BANDS
Without an assisted pull up machine, how was I supposed to work up to a full pull up? Bands. Simple as that! Again, I did my research on these bands and based off my bodyweight (around 140 lbs) and ability, I decided on a green, purple and red band. These are way cheaper than an assisted pull up machine right??? 7. SUSPENSION TRAINER Notice how I didn't say TRX here? That's because I was NOT going to pay the price for a name brand system. Although the exact brand I have is not available on Amazon anymore, there's lots of great options that my clients have found, like this one specifically (same price as what I paid for mine, and way cheaper than a $200 TRX!) 8. BOSU BALL At this point in my fitness journey, I knew I was lacking in the area of stability (because I was going through my personal training certification)... Once I learned what a bosu ball is and learned how they can change almost any exercise and turn it into something totally new, I was sold! It is now one of my favorite pieces, even more used than my stability ball! total damage:
Total damage (over the span of 9 months or so) = $1,200
Let's go back to that calculation from before. If Google says that the average gym membership is $58 a month... $1,200 / $58 = 20.7 months to make up your cost. That's under two years! I bet that you have been lifting in a gym for at least 6 months if you're reading this, so you're a quarter of the way there! Wouldn't your money be spent in a better place (like your own home) rather than a gym? what's next?
Now I am not going to lie and say that I do not want anything else for my home gym... In fact, I have upgraded my dumbbells (but I still bought them used through Facebook marketplace!), and I do dream of buying Olympic barbells and plates... But until that day comes, I am perfectly happy with the home gym I created because it has given me all the tools I need to progress in my fitness journey!
Do you have any specific things you love in your home gym? Leave me a comment and let me know! Pin now and come back later!Are you new to exercise?
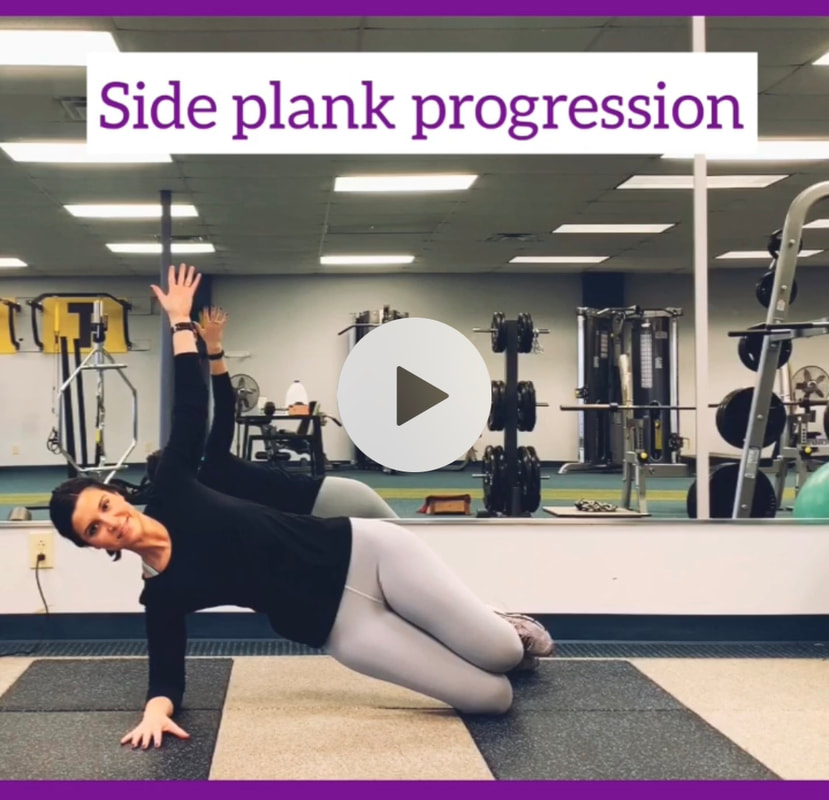
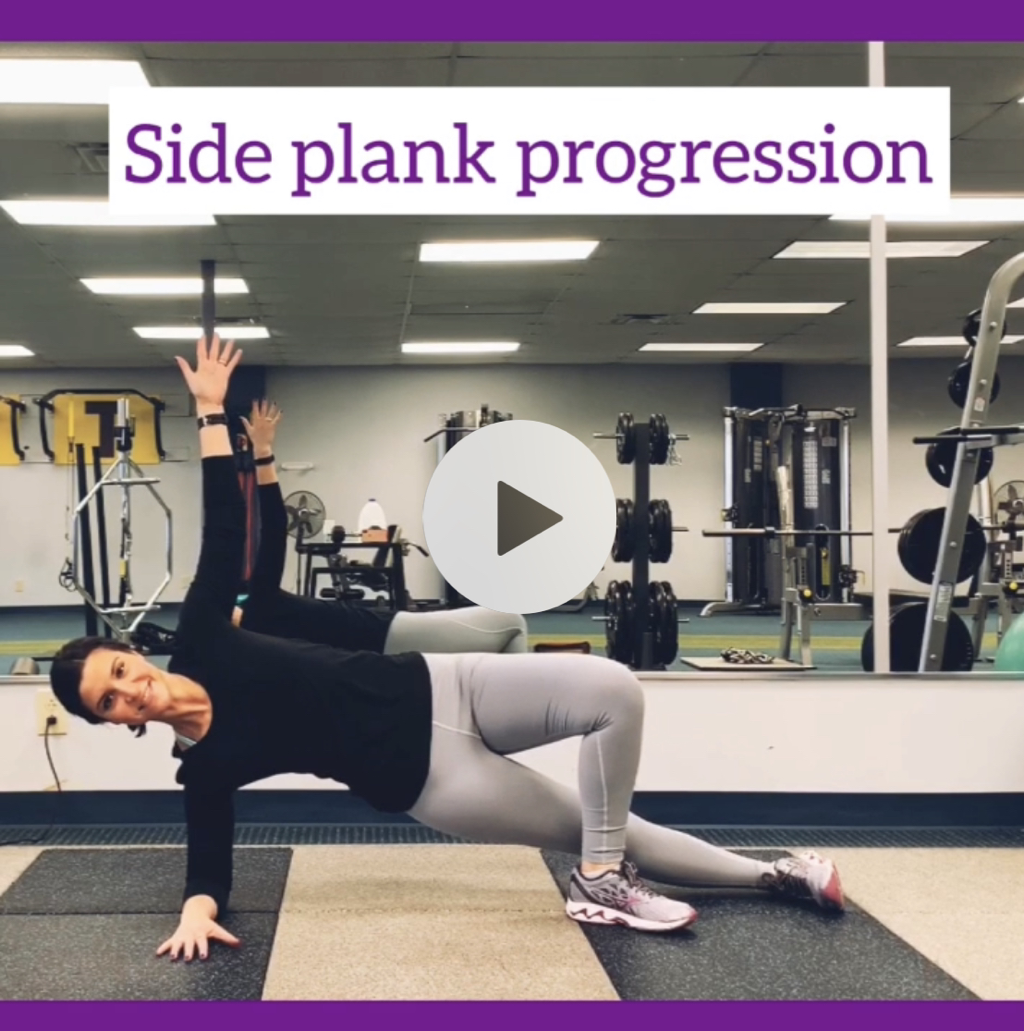
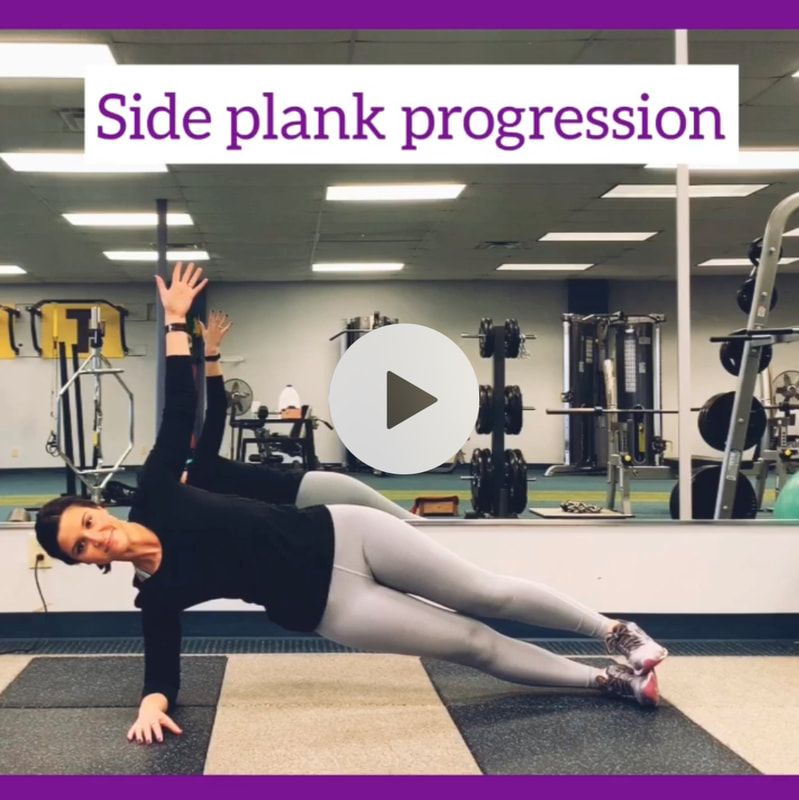
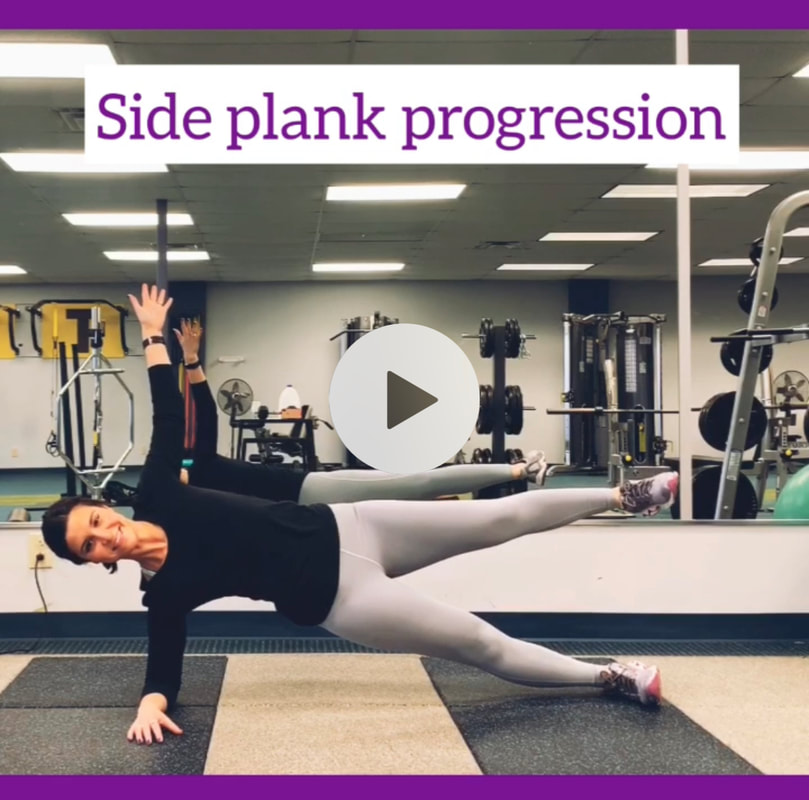
1. bent knees
2. kickstand
3. "regular" side plank
4. star
yes, you CAN use all these variations, no matter your skill level!Even though I can do the hardest variation of side plank (not for long though...), that does NOT mean that it is the only variation I perform! The way I determine which variation I use is by figuring out how long I want to hold side plank. Do I want to hold it for 2 min? 1 min? Only 30 sec? Basically, the longer I want to hold plank, the easier variation I use and vise versa. You can read more about that theory here and you apply the theory by using these workout cycles to build your strength each week!
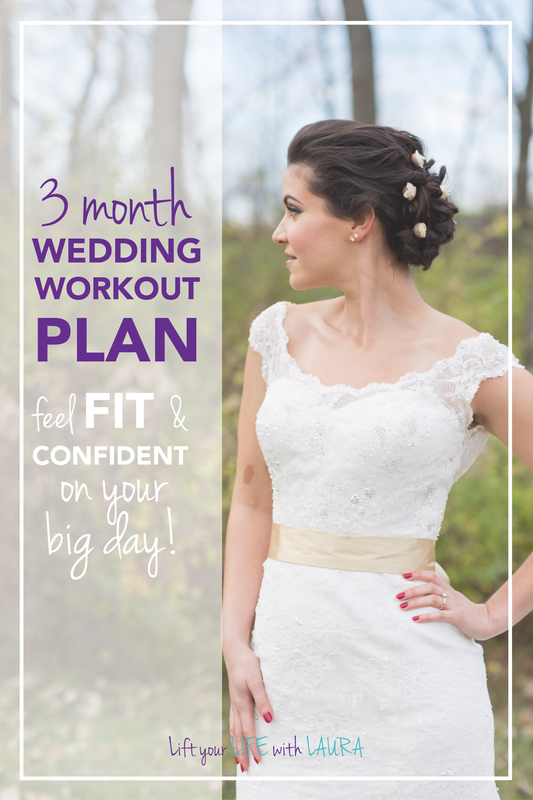
Unfortunately, the wedding business is based a LOT on appearances. One of the first appointments you booked was for dress shopping, you've spent hours picking out flowers, you made a seating chart that lets everyone have a good time, you schedule a trial run for your hair and makeup because a day like this just can't be left to chance, and on top of all that, you hired a great (but probably expensive) photographer to document every single moment of the day despite being totally ready for it or not... So after all of that, where do YOUR emotions fit in to all of this? try to change your mindset.Normally, your emotions are sent way down to the bottom of the list, somewhere under stuffing invitation envelopes... I urge you to remember something during all this planning: when it comes down to it, you and your spouse are the only ones that matter. I know you have heard this advice before, but I am going to say it again to help it sink in: YOU AND YOUR SPOUSE TO BE ARE THE ONLY ONES THAT MATTER. No one else will remember the day like you two do. No one else will feel the way that you two will. No one else matters. I mean really, does your "spouse to be" really care if you weigh a couple pounds more than you wanted to? I sure hope not. Hopefully, what really matters to them is that you feel confident on that big day, and that you are ready to start your life with them. how do you achieve that?By working out. Wait, what? I know, it seems like this goes against my previous advice of not caring how you look, but I did say that I want you to FEEL good, right? Working out releases happy hormones (and "happy people just DON'T kill their husbands" - thank you Elle Woods). Happy people GLOW on their wedding day. Happy people float down that aisle knowing that they look awesome, they feel awesome, and that they have an awesome person waiting for them at the end of that aisle. So yes, all that is how a good workout plan can make or break your wedding prep. I lifted weights even before I got engaged, so this wasn't totally new to me, but I did step up my game once I got that engagement ring. I knew lifting weights made me feel good, I knew it would help me fill out the curves of my dress and I knew it would make me feel confident on that big day. So now is when I share the skills I learned with you. I am a big believer in workouts that should fit your schedule (and the rest of your wedding planning), so what you need to think about is: How many days a week can you devote to lifting weights amidst all the wedding planning: 2 days, or 3 days? Once you think that through, click the buttons below to purchase either the 2 or 3 day plan. BOTH plans last three months which is plenty of time to make a difference in both your appearance and confidence level for that big day! Your workout plan will change each week and you will cycle through 2 different "phases" of exercises, each phase lasting 6 weeks for a total of 12 weeks (3 months). These phases come straight from my tried and true workout cycles but are offered to you at a discounted rate ($10 - $15 off) because we are preparing for your wedding, think of it as my wedding gift to you! Upon purchase, you will receive an instant download (mobile friendly so you can take it with you to the gym) with all your workouts complete with detailed descriptions of every exercise you will perform. It doesn't stop there, purchasing this special wedding prep package comes with access to me and my advice! Send me an email whenever you need it if you're stuck, confused, or just need a pep talk, I'm here for you during this major step in your life! Want even more info about the plans? Click here. Pin now, save for later!
why not every day?
Yes, I know, hearing anything that talks about "muscle confusion" seems like a great idea and the best way to get your body to respond. But is there such a thing as too much muscle confusion? YES. Think about it this way: if you performed all new exercises EVERY SINGLE DAY, wouldn't you get frustrated when each exercise felt like a new skill to master? Wouldn't you like to go to the gym knowing that you have good form on at least some of the exercises in your routine? I know I do... AND, let's take a second to talk about soreness. You know how sore you get after doing a new exercise for the first time? Do you REALLY want to be that immobile every day of your life? NOPE.
So if we aren't going to change things up every day, how do we know when to change things? It's a fine line here, because you want to change things the least amount of times you can WHILE STILL challenging your body. So: why not every 3 months?
Every 3 months seems like it would be a good idea, because you would give your body plenty of time to master a movement, but honestly, your body is WAY smarter than that. 3 months is a long time to do the same thing over and over and I promise that your body will get bored and plateau! No one wants a plateau.
LIKE WHAT YOU'RE READING? SIGN UP TO GET MORE INFO LIKE THIS!
why not every month?
Yes, your body IS amazingly capable of adapting, but one month doesn't give it that much time to master something. Think about it, if you perform a two day split routine for 4 weeks, you are only performing each exercise 4 times before you move on to new exercises. It sure takes me longer than 4 tries to learn something new!
the "perfect" number:
This leaves us with the middle ground... somewhere between 4 weeks and 12 weeks. Let's continue with our example from above: if you perform that two day split for 6-8 weeks, you get 6-8 days to master each exercise! That's plenty of time to progress.
What about getting bored? The longer you perform a workout, the more likely you will get bored. One way to eliminate that is by performing the same exercises in different ways throughout your routine. This is the exact reason I designed my workout cycles to progress like this. Each of your 6 weeks contains the same exercises, but each week has a slightly different goal. If that kind of layout sounds appealing to you, take a second to look more in depth look at how my plans are organized here! Alright, you are now READY to tackle your workout routine with CONFIDENCE. Go forth and LIFT YOUR LIFE! Pin now, reference later!
Some terminology to note before reading:
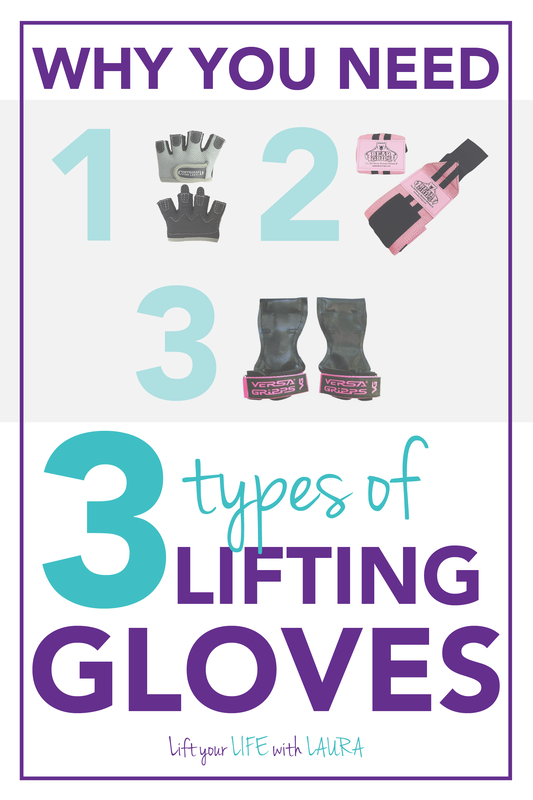
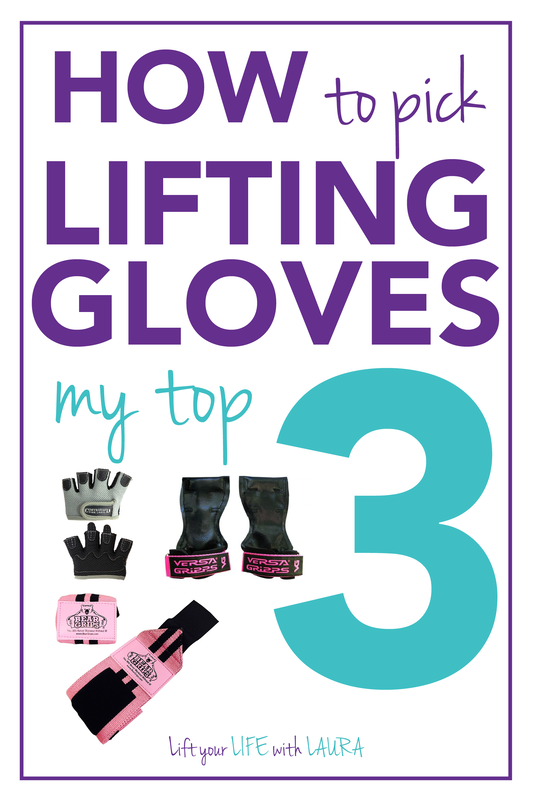
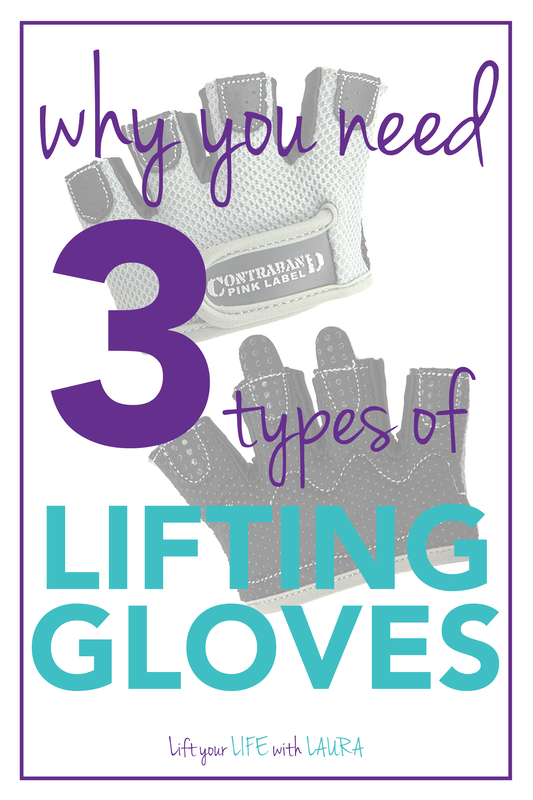
PULLING - any movement that pulls a weight towards your body (deadlift, row, etc) PUSHING - any movement that pushes a weight away from your body (bench, squat, etc) 1. "micro" gloves
2. straps
3. extra pulling grip
LIKE WHAT YOUR'RE READING SO FAR? SIGN UP FOR MORE!
Signup here: Thank you!You have successfully joined our subscriber list. 2 things to note:
how to use these in YOUR workout routine
My general guidelines are:
Even though I give these guidelines, EVERYONE is different. What might feel good to one person might feel bad for the next. I happen to have a client who has tried a mixed grip and Versa Gripps on her heavy deadlifts and doesn't like either! Do whatever feels best for you, these are just tips to help you find that! What types of gloves/straps do you like? Let me know by leaving a comment! Pin now and save for later! |
AuthorMy name is Laura and I help overly tired 20something women overhaul their lives, energy and confidence without overwhelm. Categories
All
DISCLAIMER:
Although I am a Certified Personal Trainer through the National Academy of Sports Medicine and write to the best of my knowledge on fitness, nutrition and lifestyle practices, I cannot be made liable to know all information on a particular subject. Knowledge gained through this blog is to be used at your own risk and all lifestyle changes should be discussed with a doctor before starting. I am also a participant in the Amazon Services LLC Associates Program, an affiliate advertising program designed to provide a means for sites to earn advertising fees by advertising and linking to Amazon.com. I do receive a small reimbursement for sales made through the links provided on my blog. |
Proudly powered by Weebly





 RSS Feed

